Halloween Chocolate Chip Cookies Recipe
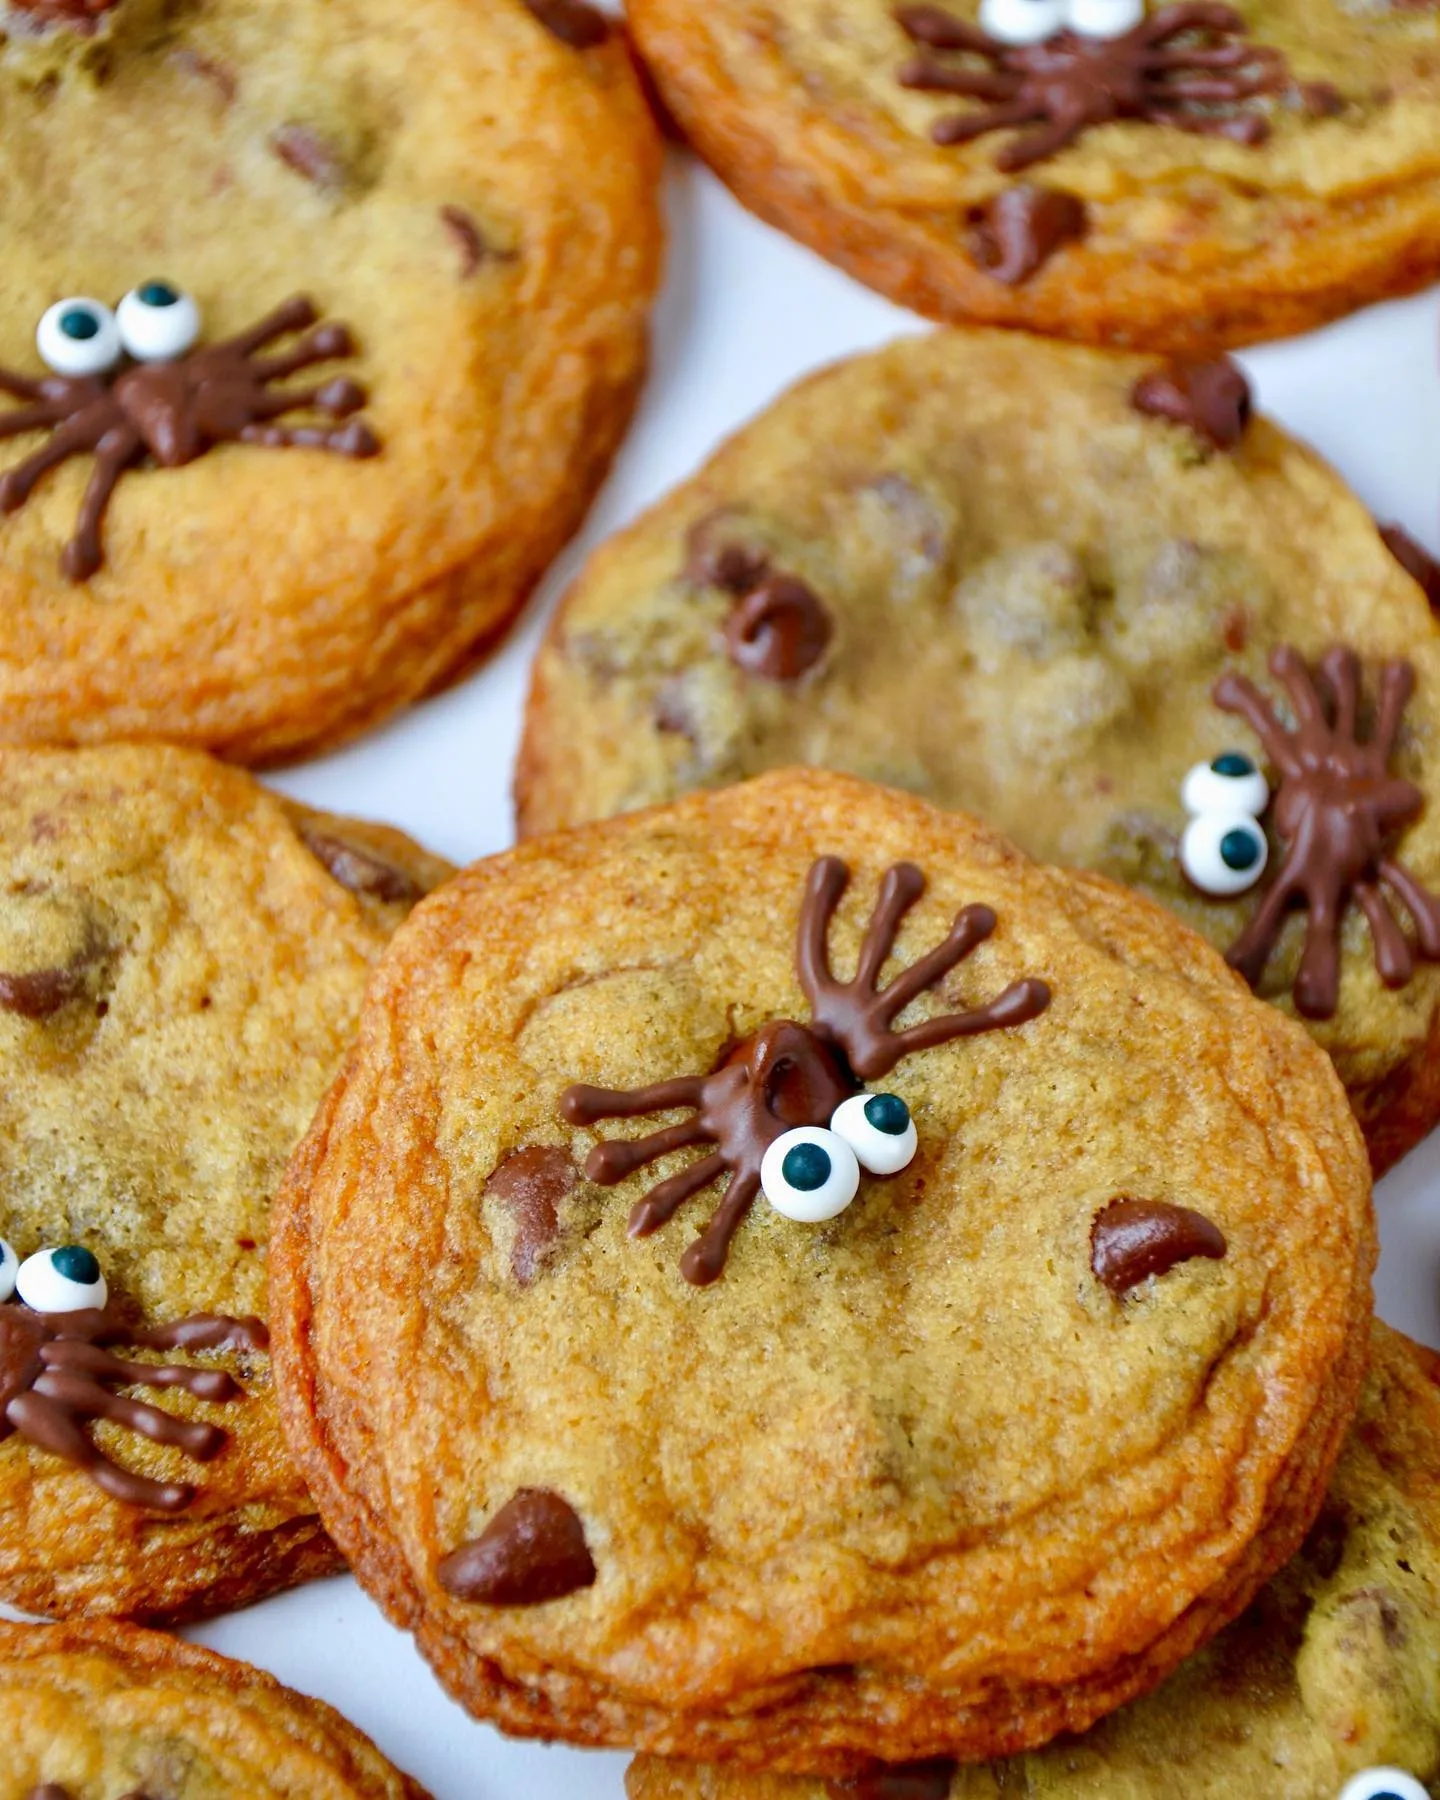
When I first decided to make these Halloween Chocolate Chip Cookies Recipe, I wanted something festive but incredibly simple. I was so pleased with how they turned out; they are the perfect combination of a classic chewy cookie with a fun, spooky twist.
The candy eyes and festive sprinkles bring so much character to each cookie, making them an instant hit at any Halloween gathering. It’s a recipe I now look forward to making every year because it’s quick, easy, and always brings a smile to everyone’s face.
Ingredients You’ll Need for Halloween Chocolate Chip Cookies Recipe
Here are the simple ingredients required to whip up these spooky and delicious treats.
- 1/2 cup unsalted butter, melted: Using melted butter helps create a chewier cookie and makes mixing by hand a breeze.
- 1/3 cup granulated sugar: This provides the classic sweetness and helps the cookies spread to a perfect crisp edge.
- 1/2 cup packed light brown sugar: Brown sugar adds moisture and a slight caramel flavor, contributing to a soft center.
- 1 large egg: Acts as a binder, holding all the ingredients together for the perfect cookie structure.
- 1 teaspoon vanilla extract: A little vanilla goes a long way in enhancing the rich flavors of the cookie dough.
- 1/2 teaspoon salt: Balances the sweetness and brings out the chocolate flavor.
- 1/2 teaspoon baking soda: This is our leavening agent, giving the cookies a slight lift so they aren’t too dense.
- 1 1/2 cups all-purpose flour: For best results, spoon the flour into your measuring cup and level it off rather than scooping directly from the bag.
- 1 1/2 cups chocolate chips: You can use semi-sweet, milk, or dark chocolate chips depending on your preference.
- 1/2-3/4 cup Halloween sprinkles: These add the festive colors and a fun crunch.
- Candy eyes (optional): The key to turning these cookies into spooky little monsters!
Note: This recipe makes approximately 18-20 cookies, perfect for a party or sharing.
Variations
Feel free to customize these cookies to fit your taste or dietary needs.
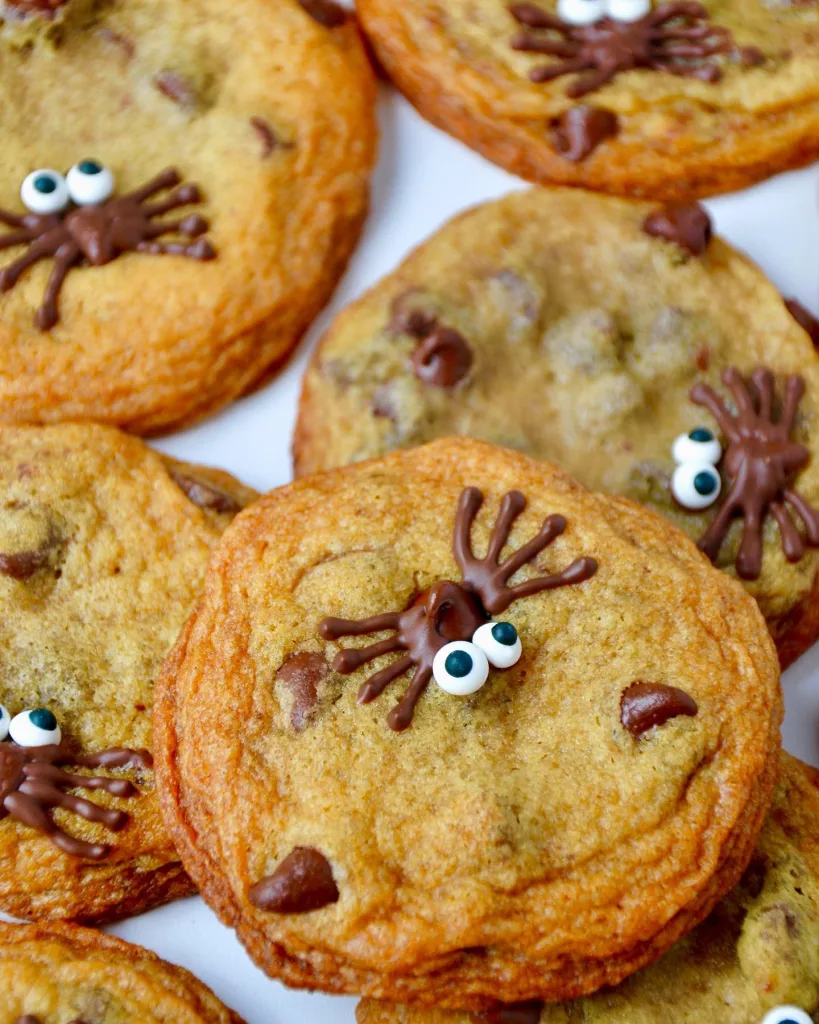
- Spider Cookies: Skip the candy eyes and use a toothpick to drag the melted chocolate out from the chips right after baking to create spooky spider legs.
- Nutty Cookies: Add about ¾ cup of chopped nuts like walnuts or pecans to the dough along with the chocolate chips for extra texture and flavor.
- Oreo Cookies: For a cookies-and-cream twist, replace the chocolate chips with coarsely chopped Oreo cookies.
- Dairy-Free Option: You can substitute the unsalted butter with your favorite dairy-free butter alternative. Ensure you use dairy-free chocolate chips as well.
Cooking Time
- Prep Time: 10 minutes
- Chill Time: 2 hours
- Cooking Time: 15 minutes
- Total Time: 2 hours 25 minutes
Equipment You Need
- Mixer (or a bowl and whisk): A stand mixer or hand mixer makes the job easier, but you can mix this dough by hand since it uses melted butter.
- Spatula: For scraping the sides of the bowl and gently folding in the chocolate chips and sprinkles.
- Baking Sheet: A standard baking sheet is needed to bake the cookies.
- Parchment Paper or Silicone Baking Mat: This prevents the cookies from sticking to the pan and makes cleanup much easier.
- Ice Cream Scoop: Using a scoop helps create uniform, evenly-sized cookies that bake consistently.
How to Make Halloween Chocolate Chip Cookies?
This recipe is straightforward and perfect for bakers of all skill levels. The key to a great cookie is chilling the dough, so don’t skip that step! It prevents the cookies from spreading too much and deepens the flavor. Making the dough is a one-bowl process, which means less mess and more time for decorating and enjoying.
Step 1: Make the Cookie Dough
First, add the melted butter, granulated sugar, and brown sugar to a large bowl. Mix them together until they are smooth and well combined. Next, add the vanilla and the egg, and continue mixing until everything is incorporated. Finally, add the all-purpose flour, salt, and baking soda, and mix on low speed or by hand until just combined. Be careful not to over-mix the batter.
Step 2: Add Chocolate Chips and Sprinkles
Once the dough is ready, it’s time for the fun additions. Gently fold in the chocolate chips and Halloween sprinkles using a spatula or a large spoon. Mix just enough to distribute them evenly throughout the dough without crushing the sprinkles too much. This step ensures every bite is loaded with chocolatey goodness and festive color.
Step 3: Chill the Dough
Using an ice cream scoop, portion the dough into 2-tablespoon balls and place them on a baking sheet lined with parchment paper. You can place them close together for this step since you are not baking them yet. Cover the baking sheet with plastic wrap and place it in the refrigerator to chill for at least 1.5 to 2 hours, or for up to 24 hours. Chilling is essential for thick, chewy cookies.
Step 4: Bake the Cookies
When you are ready to bake, preheat your oven to 350°F (175°C). Arrange the chilled cookie dough balls on a parchment-lined baking sheet, making sure to leave about 2 inches of space between each one. Bake for 11-13 minutes, or until the edges are golden brown. If you are using candy eyes, press them onto the cookies immediately after they come out of the oven while they are still hot. Let them cool on the baking sheet for a few minutes before transferring them to a wire rack to cool completely.
Additional Tips for Making this Recipe Better
- I find that using a mix of chocolate chips, like semi-sweet and milk chocolate, gives the cookies a more complex and delicious flavor.
- Don’t skip chilling the dough! I once rushed a batch and they spread out way too thin. A minimum of two hours in the fridge makes a huge difference in texture.
- For perfectly round cookies, I like to take a round cookie cutter that is slightly larger than the cookie and swirl it around the cookie right after it comes out of the oven. This little trick shapes the edges perfectly.
- To make sure the sprinkles really pop, I recommend adding half to the batter and pressing the other half gently onto the top of the cookie dough balls before baking.
How to Serve Halloween Chocolate Chip Cookies?
Halloween Chocolate Chip Cookies are all about fun presentation and festive touches. Serve them on a spooky-themed platter decorated with candy corn, mini pumpkins, or spider web napkins for a seasonal feel. You can drizzle melted white or dark chocolate over the cookies and top with candy eyes for extra creepiness.
Stack them in a jar with Halloween ribbons if gifting, or arrange them on a dessert table beside hot cocoa or pumpkin spice lattes. Perfect for parties or trick-or-treat snacks!
For an extra indulgent treat, serve them warm with a scoop of vanilla ice cream. You can even create cookie sandwiches by putting a layer of orange-colored vanilla frosting between two cookies.
Nutritional Information
Here is a general overview of the nutritional facts per cookie.
- Calories: 219kcal
- Carbohydrates: 32g
- Protein: 2g
- Fat: 9g
Make Ahead and Storage
These cookies are great for preparing in advance, making your holiday baking less stressful.
Storing: Store the baked cookies in an airtight container at room temperature. They will stay fresh and delicious for about 3-5 days.
Freezing: You can freeze the baked cookies or the unbaked cookie dough balls. For both, store them in an airtight container or a freezer-safe bag. They will last for up to 2-3 months in the freezer.
Reheating: There’s no need to reheat the cookies; they are great at room temperature. If you have frozen the unbaked dough, you can bake it directly from frozen—just add a few extra minutes to the baking time.
Why You’ll Love This Recipe?
Here are a few reasons why this will become your go-to Halloween cookie recipe.
- Incredibly Easy to Make: This recipe uses melted butter and comes together in one bowl, meaning you don’t need a stand mixer and cleanup is minimal.
- Festive and Fun: The addition of Halloween sprinkles and candy eyes makes these cookies a perfectly spooky and delightful treat for the season. They are always a conversation starter!
- Deliciously Chewy Texture: Thanks to the melted butter and chilling time, these cookies have crispy edges and a wonderfully soft and chewy center that everyone loves.
- Perfect for Making Ahead: The dough can be made up to 24 hours in advance and stored in the fridge, or the dough balls can be frozen for months, giving you a head start on party prep.

